How To Install Motorcycle Saddlebags
Storage is easy. Safe fitment is the part people skip. Use this guide to choose the right saddlebag style, measure your bike correctly, and install with the clearance and stability you actually need.
Design and Style
Saddlebags should match your bike and your ride habits. Pick the look, then lock in the features that keep your stuff secure.
Choose your look
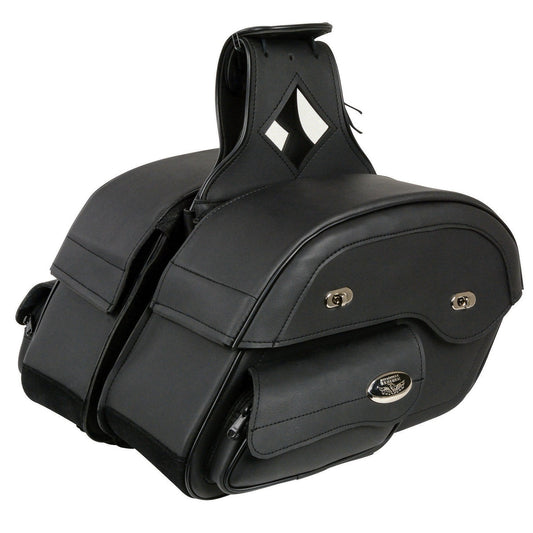
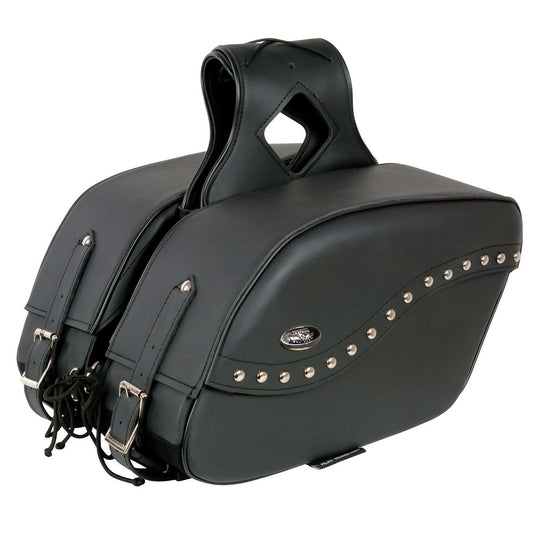
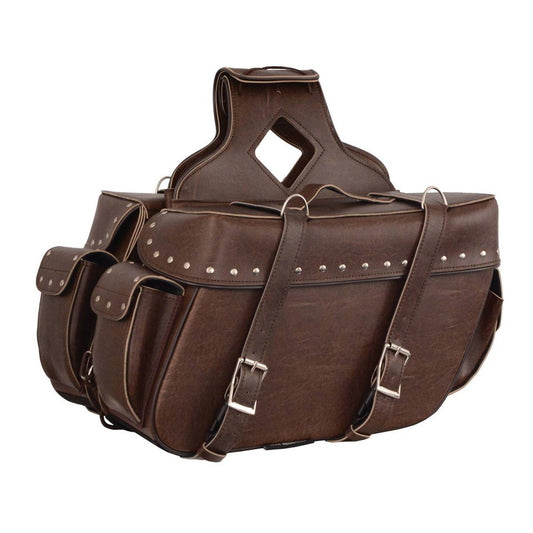
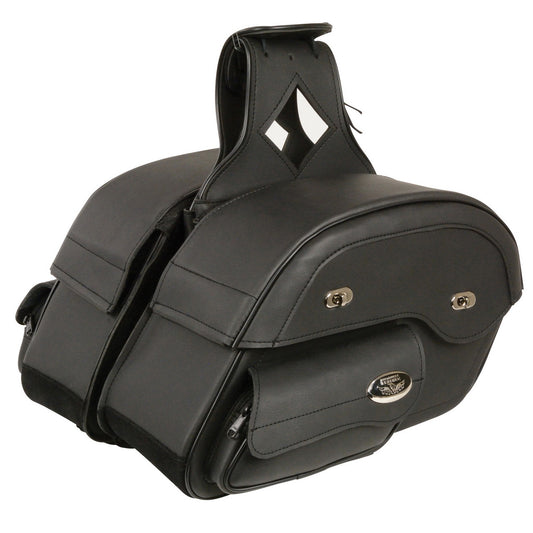
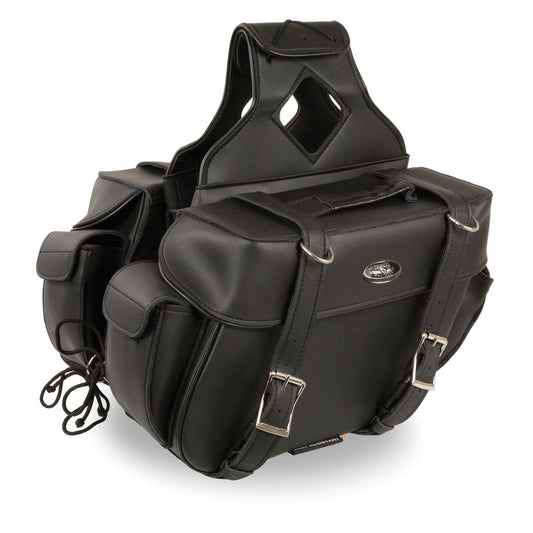
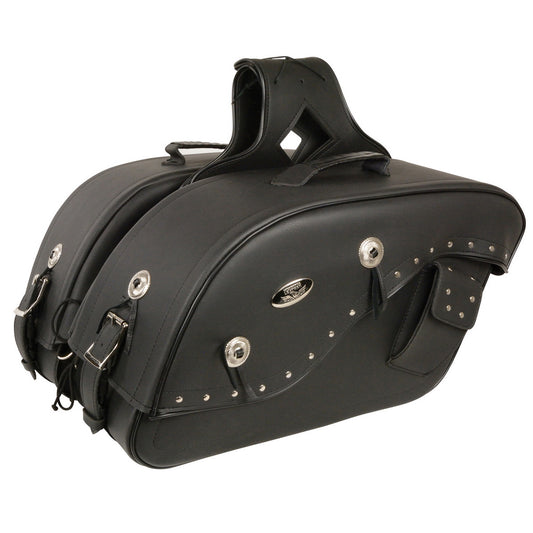
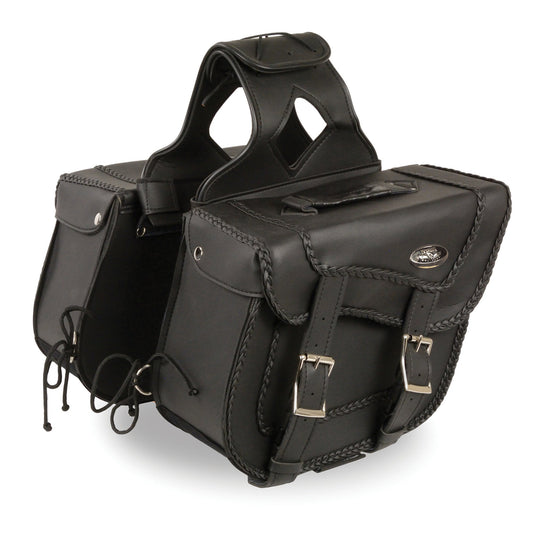
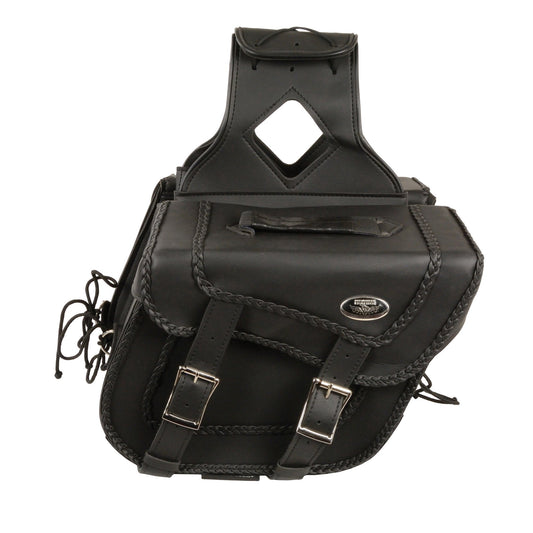
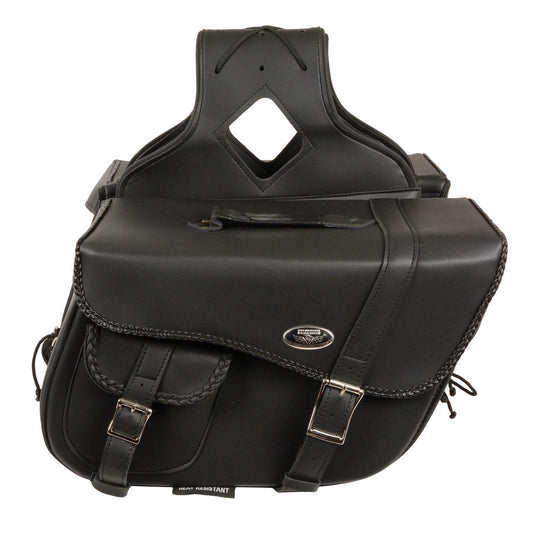
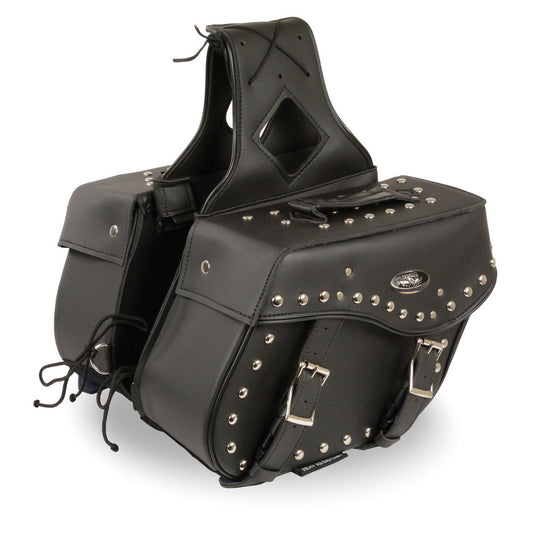
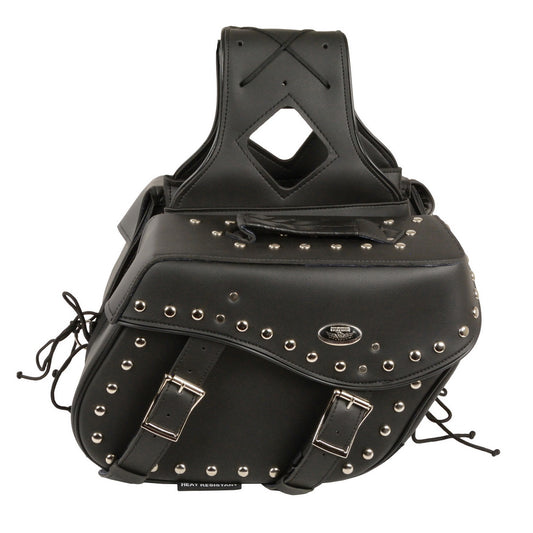
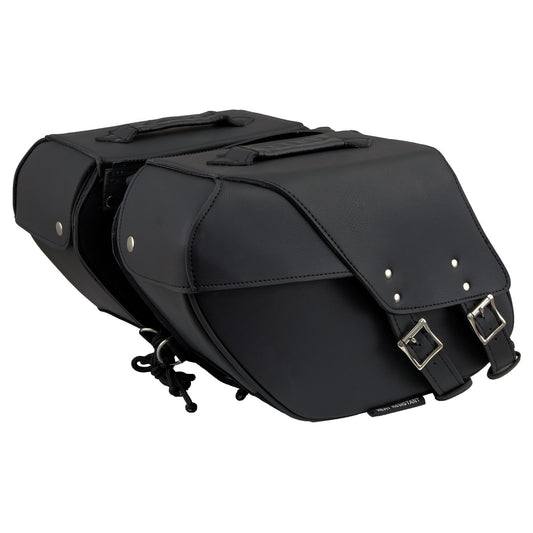
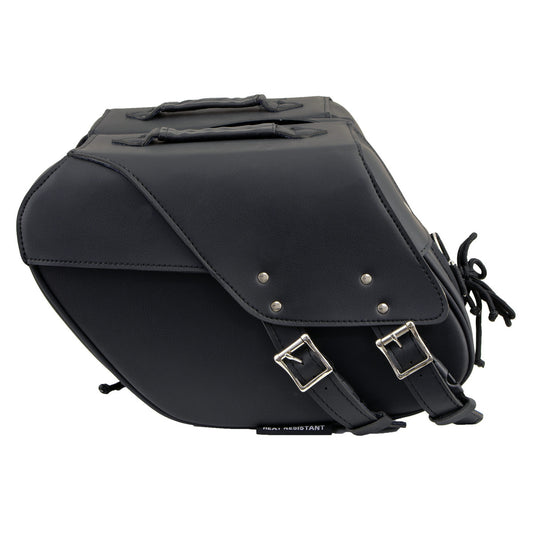
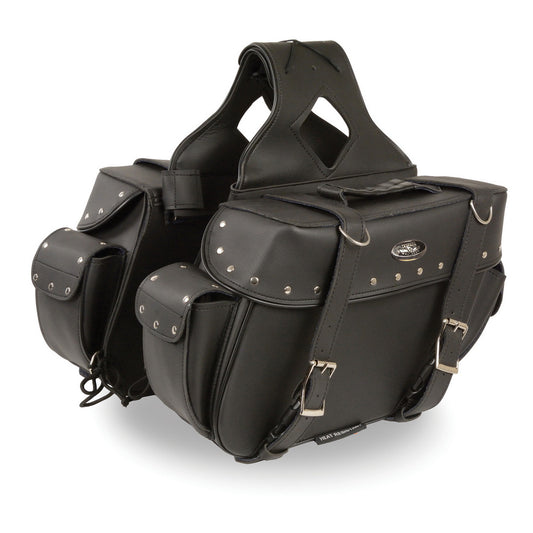
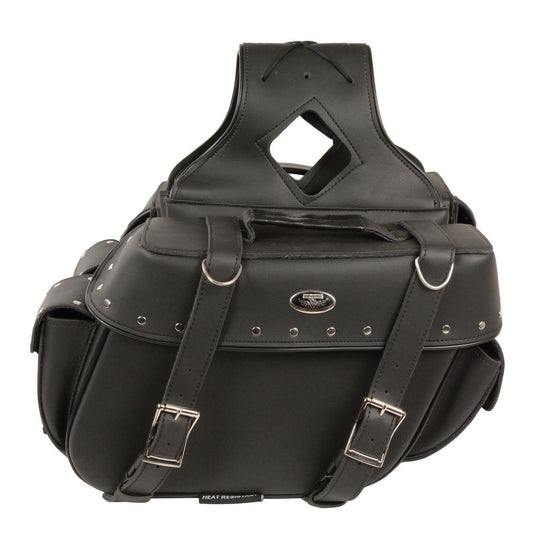
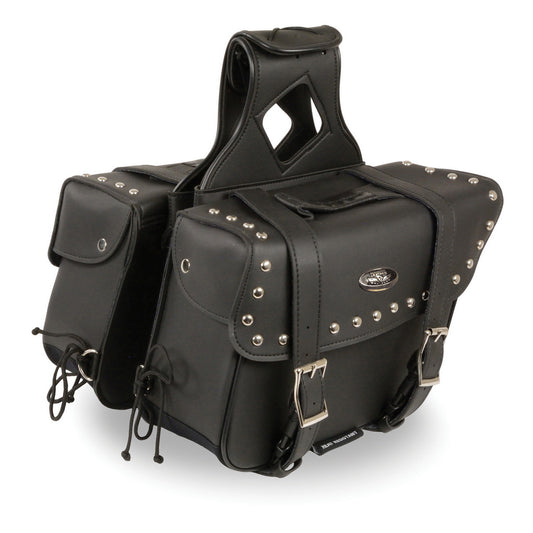
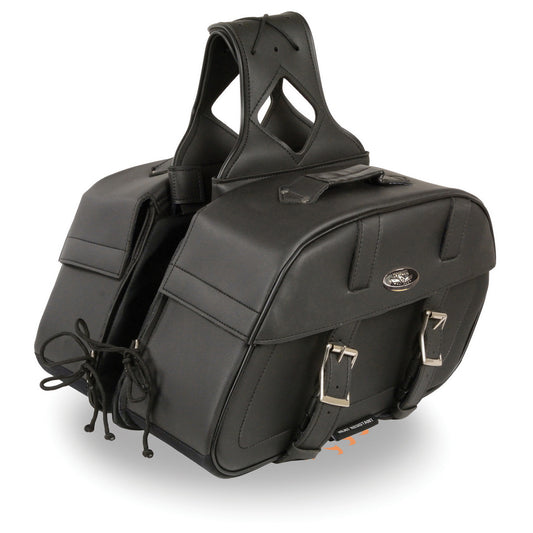
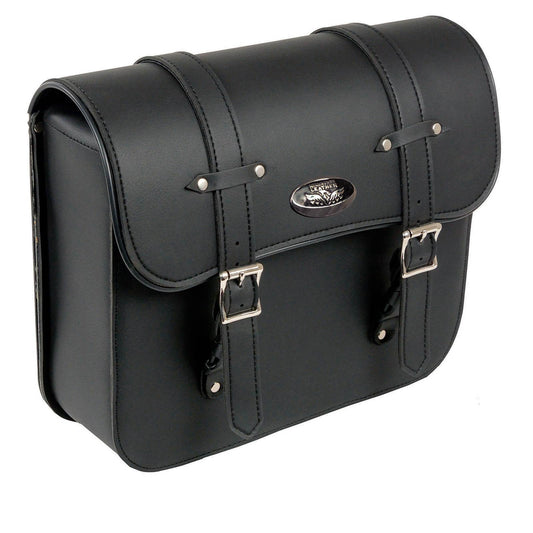
Studded vs clean. Buckles vs quick access. Slant vs box. Match your bike lines - not just your cart total.
Pick your features
Bonus pockets, zip-off designs, conceal carry compartments, locking options - decide what actually matters for your routes.
Ask 4 questions
What do you carry daily? Do you remove bags often? How much security do you need? Is weather protection a must?
Pro tip
If you ride two-up or tour, prioritize stability and mounting first - style second. Your passenger will thank you.
Space and Size
Bigger bags can look killer - or look like luggage strapped to a fighter jet. Match storage to your bike and what you actually carry.
Visual fit
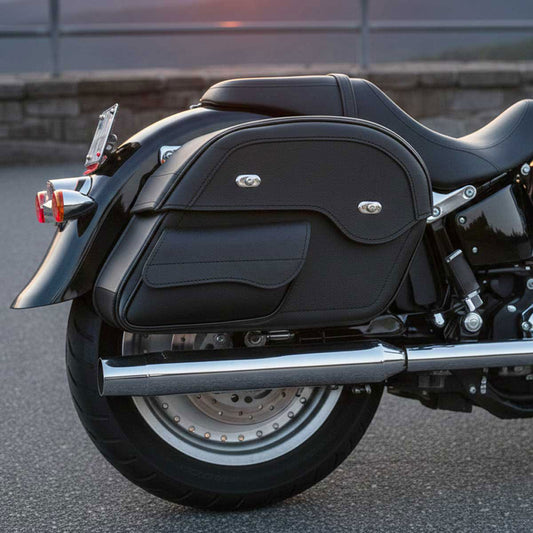
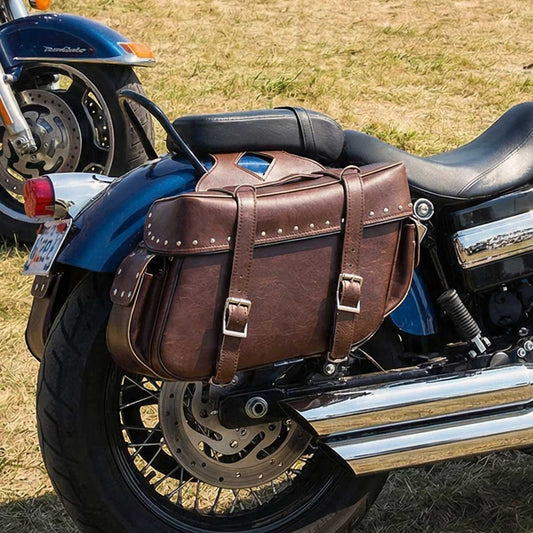
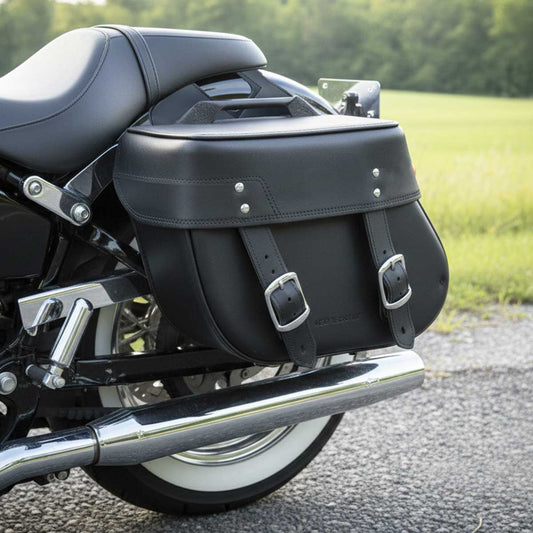
Check length and height against the rear fender and signals. Oversized bags can block lights and force relocation.
Functional fit
Decide if you want quick-grab access (outer pockets) or clean security (minimal exterior openings).
Security reality
If you park in busy spots, favor lockable lids or remove-and-carry designs.
Measure Your Motorcycle
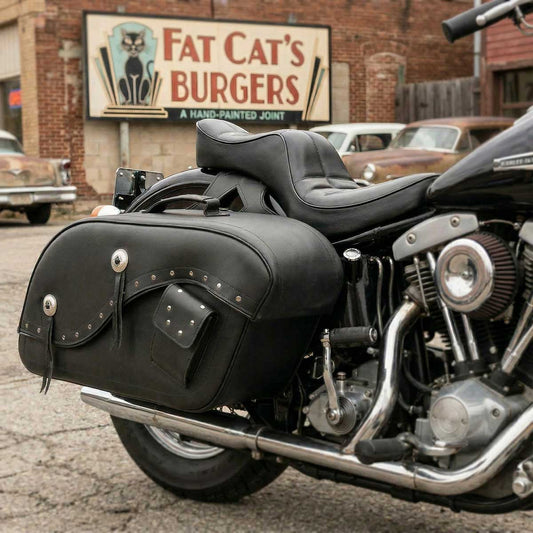
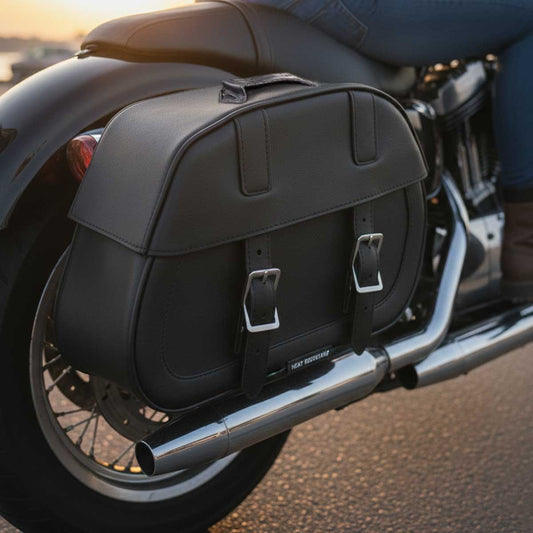
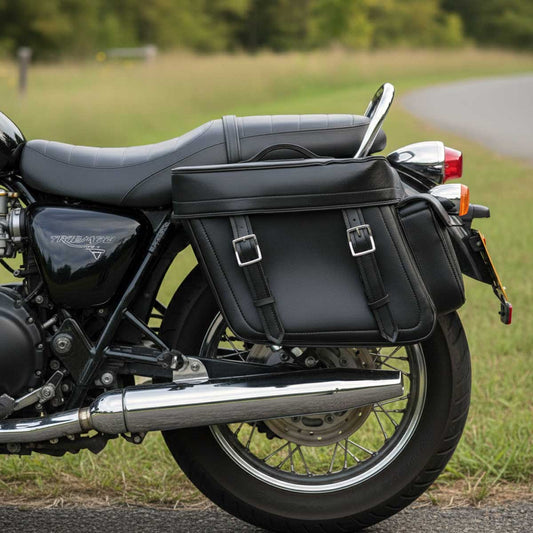
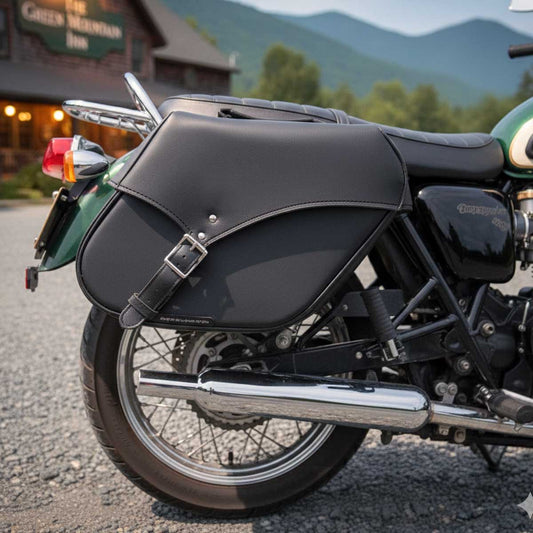
Two quick measurements prevent most install problems: length coverage and exhaust clearance.
Seat-to-signal length
Measure from the rear seat area toward the turn signals to understand what bag length your bike can support.
Fender rail-to-exhaust
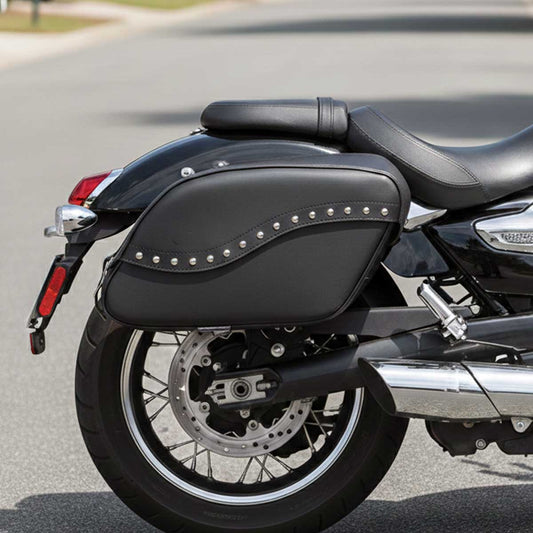
Confirm a minimum of 2 - 4 inches of space between the bag and exhaust, even if heat shielding is included.
Compression check
Load the bag, then compress the suspension a bit to verify nothing shifts into wheel, belt/chain, or exhaust zones.
Mounting Options
Choose your mounting style first. It affects stability, convenience, and how clean your bike looks when the bags are off.
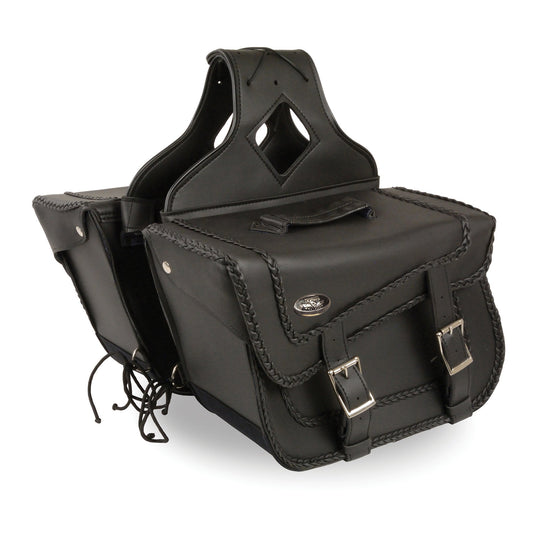
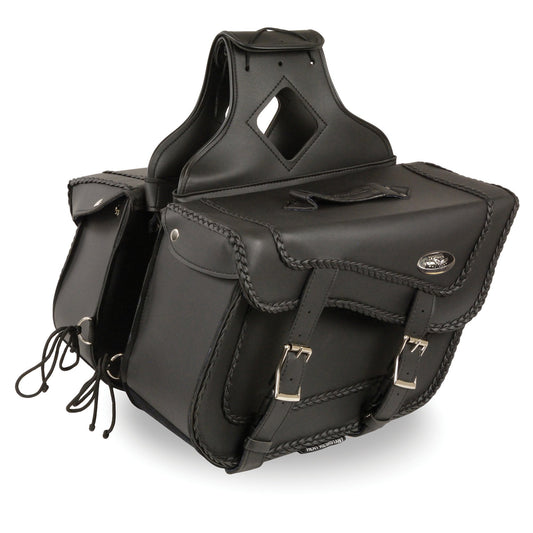
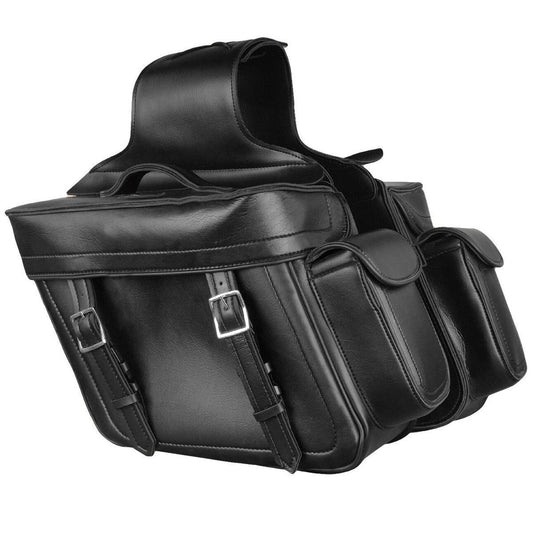
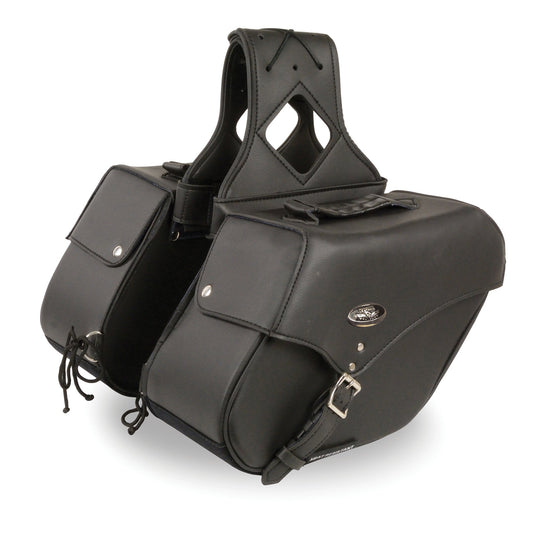
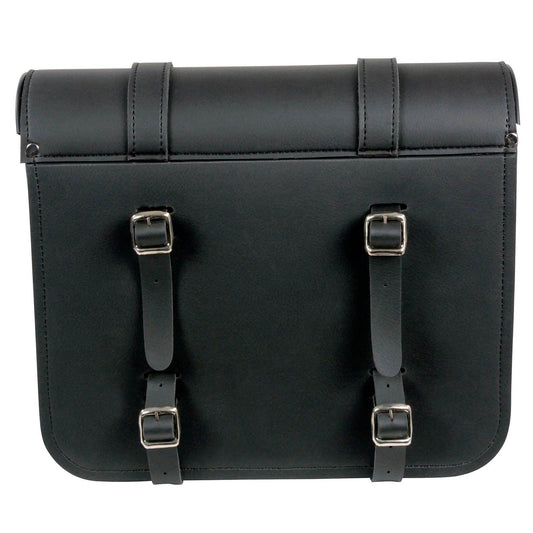
Flexible, common, adjustable. Usually sits under the seat. Secure with four tie-down points.
Add structure and reduce bag swing. Great upgrade for heavier loads and better clearance control.
Bolts directly to the bike for the most solid feel. Removal is not quick, but security is strong.
Fast on/off convenience with cleaner visuals when bags are removed. May require specific hardware.
Install Points (Tie-Downs)
Most soft saddlebags include four tie-down points. The goal is simple: keep the bags from shifting inward, backward, or down.
Common approach
Front ties to a sturdy forward frame point (often near passenger pegs). Rear ties to a secure rear frame location.
Dial it in
Tighten evenly, load the bags, then re-check. If you see swing, add brackets or adjust height before riding.
Strap management
Tuck or secure loose strap ends. Flapping straps can get sucked into wheels or belt drives - don’t gamble.
Safety Checklist (Do This Before You Ride)
- Bag clears exhaust by 2 - 4 inches (loaded)
- Bag does not touch wheel, belt, chain, or shocks
- Straps are tight and tucked (no flapping)
- Turn signals are visible and not blocked
- Mount points are sturdy (no flimsy anchors)
- Re-check tightness after the first ride
Moving Parts and Exhaust
If you remember one thing from this page, remember clearance. Heat and moving parts do not care that your bags look cool.